After 3 years of Python scripting, I finally reached that point where I can confidently say that I roughly know what I am doing. Then I fall in love with Katana and while interface and node graph stuff can be accessed/modified via Python, OpScripts are – for performance reasons – Lua based.
Well, off to something new, then. tongue
I consider this blog post as a dynamic place that I will update whenever I make some progress. I am not sure how this will turn out, but I think I’ll start off with some code snippets. If anybody stumbles upon this, feel free to leave a comment, correct me, help me, suggest anything you think that might be useful. I would greatly appreciate it.
Update: This post got bigger than I expected, so I figured, my Python to Lua Cheat Sheet deserves its own blog post smile
OpScript in Katana
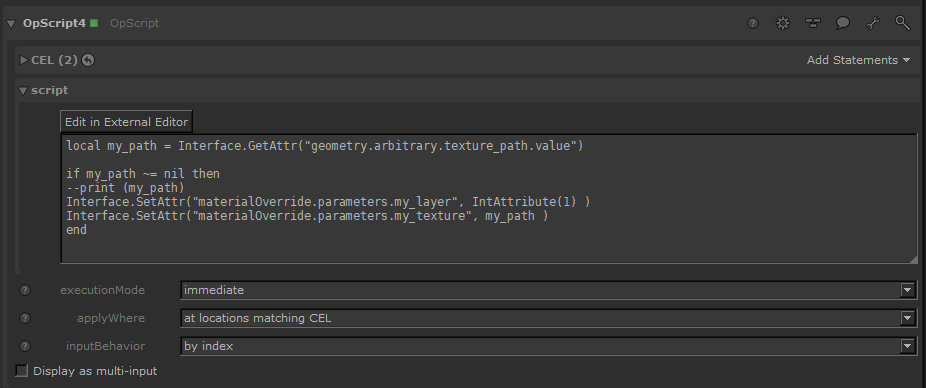
To create an OpScript in Katana, just create an OpScript node and define your CEL statements. The OpScript will now loop over the defined scene graph locations and run the code. As long as executionMode is “immediate” the code is run, whenever you “leave” the script box. That is, whenever you click somewhere else in the Interface. If you have some unfinished code which, you know, would throw an error, and you don’t want Katana to freak out, you can change this setting to deferred. Now the code is only run when you have either an OpResolve node, or you can conveniently toggle Scene Graph Implicit Resolvers from the top menu bar.
Now let’s start really simple.
Get an attribute
Interface.GetAttr('material.parameters.roughness')To find out the attribute name, you usually just need to chain the group names in the attributes panel with a dot. Alternatively, you can hover over the attribute and the tooltip shows the whole path. If you are lazy, you can also middle mouse drag the attribute name to the python scripting window. This will give you something like this:
UI4.FormMaster.AttributeShare.prmanStatements_attributes_MatteRemove UI4.FormMaster.AttributeShare. and replace the underscores with a dot. Done!
prmanStatements.attributes.MatteNow let’s write our first OpScript:
--print an attribute to the shell to see if it worked
local my_float = Interface.GetAttr('material.parameters.roughness')
print (my_float)
However, this will return
FloatAttribute(0.734)- FloatAttribute()
- IntAttribute()
- StringAttribute()
local my_float = Interface.GetAttr('material.parameters.roughness')
my_float = my_float:getValue()
my_float = my_float + 0.1
print (my_float)
0.734
Set an attribute
Since GetAttr() gave us a FloatAttribute(), we need to use that as well, when we want to SetAttr().
local my_float = FloatAttribute(0.3)
Interface.SetAttr('material.parameters.roughness', my_float)
Multi-value attributes
this is where stuff gets slightly more confusing…
local my_double = Interface.GetAttr('xform.interactive.translate')
print (my_double)
DoubleAttribute({{-28.3563, -0.0565, 209.6124}, })
Definitely too many brackets for my taste. To do something with this beast you can use :getNearestSample(0.0) which creates a table. Then we can just get the values from the table as we would normally do.
local my_double = Interface.GetAttr('xform.interactive.translate'):getNearestSample(0.0)
print (my_double[1])
-28.3563

for i, v in ipairs(my_double) do
    print (v)
end
-28.356315612793
-0.056529074907303
209.61247253418

local new_double= {10,10,10}
Interface.SetAttr('xform.interactive.translate', DoubleAttribute(new_double))
Group attributes
A group attribute usually holds multiple children. Luckily, OpScript has some functions for us, so we can work with those children easily. :getNumberOfChildren() for example returns… well… exactly what it says. :getChildByIndex() for example is useful for loops.
local my_group = Interface.GetAttr('xform.interactive')
local count = my_group:getNumberOfChildren()

for i=1, count, 1 do
    my_child = my_group:getChildByIndex(i)
    print (my_child)
end
Leave a Reply